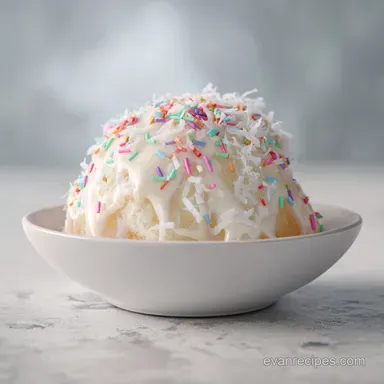
The Ultimate Ooey Gooey Coconut Cake Recipe
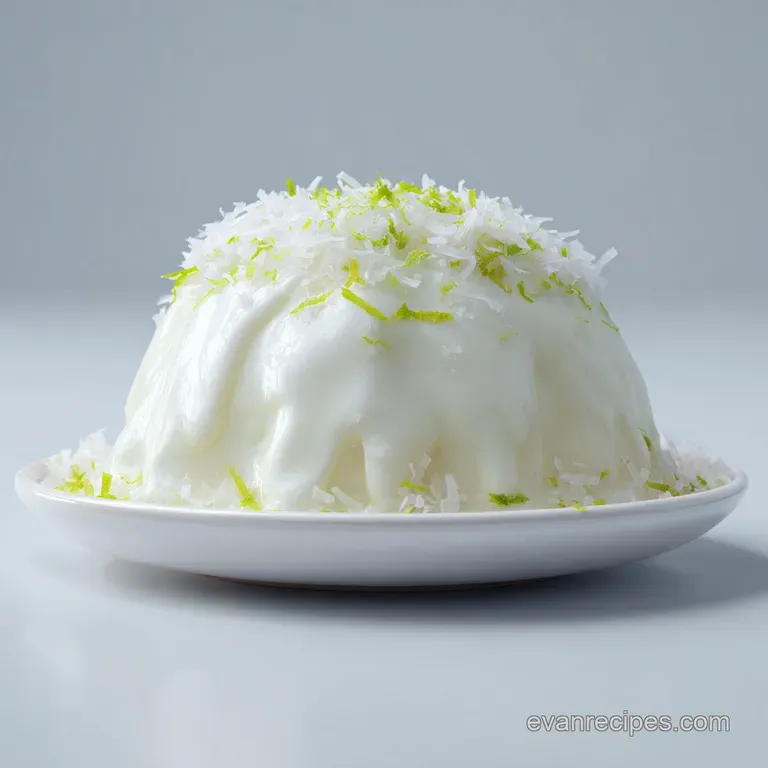
- Time: 25 min active + 3 hours 35 mins resting/cooling = Total 4 hours
- Flavor/Texture Hook: Shatter crisp toasted coconut topping with a silky, saturated crumb
- Perfect for: Summer potlucks, tropical themed parties, or an impressive weekend treat
- The Ultimate Ooey Gooey Coconut Cake Recipe
- Breakdown of Key Components
- Gathering Your Essentials
- The Right Kitchen Tools
- Step by Step Baking Guide
- Fixing Common Texture Issues
- Adjusting the Batch Size
- Debunking Coconut Cake Myths
- Storage and Waste Tips
- Best Pairings for Coconut
- Recipe FAQs
- 📝 Recipe Card
The scent of toasted coconut hitting a hot pan is enough to make anyone stop what they're doing. It's that nutty, caramelized aroma that tells you something special is happening in the kitchen. I remember the first time I tried a "gooey" cake, and I was convinced it was just underbaked.
I almost pulled it out of the oven too early, thinking I'd failed the bake.
But here is the secret: the "goo" isn't from underbaking the cake. It's from the strategic saturation of a perfectly baked sponge with a warm, buttery coconut glaze. Most people think you need a professional bakery setup or a fancy tres leches technique to get this result, but you actually just need a fork and some patience. Here is The Ultimate Ooey Gooey Coconut Cake Recipe you've been waiting for.
This isn't a light, airy sponge cake that disappears in one bite. It's a rich, dense butter cake that stands up to a heavy soak without turning into mush. We're looking for a specific contrast: the crunch of the toasted coconut on top against the velvety, almost fudgy interior.
Trust me, once you see the glaze seep into those poke holes, you'll never go back to a dry coconut cake.
The Ultimate Ooey Gooey Coconut Cake Recipe
Right then, let's get into why this actually works. Baking is a game of precision, and this cake is all about managing moisture. If you just pour liquid on a cake, it sits on top. But by combining a hot cake with a warm soak, we create a vacuum effect.
The Sponge Effect: Poking holes in a hot cake creates channels that pull the liquid down into the crumb. The heat expands the air pockets, allowing the soak to flow deeper than it would in a cold cake.
Fat Stability: Using full fat coconut milk and butter ensures the soak doesn't separate. The fats bind together, creating that silky mouthfeel rather than a watery one.
The Sugar Bridge: Condensed milk provides a thick, syrupy consistency that clings to the cake fibers. This prevents the cake from becoming soggy and instead makes it "ooey gooey."
Toasted Barrier: Toasting the coconut before adding it creates a textural contrast. It adds a crisp layer that stops the top from feeling too wet.
Texture and Method Comparison
| Feature | Fast Method (Standard Cake) | Classic Ooey Gooey Method | Best For |
|---|---|---|---|
| Texture | Fluffy & Dry | Velvety & Saturated | Indulgent Desserts |
| Prep Time | 20 minutes | 25 minutes | Special Occasions |
| Resting | 30 minutes | 4 hours | Maximum Flavor |
| Mouthfeel | Light/Spongy | Rich/Custard like | Texture Lovers |
Breakdown of Key Components
Before we start mixing, it's helpful to understand what each ingredient is actually doing. You can't just swap things out randomly in a bake like this because the balance of fat and sugar is what creates the stability.
If you use a low-fat milk, for example, the soak will likely leak out of the cake and pool at the bottom of the pan.
I've found that using room temperature eggs is non negotiable here. If you add cold eggs to creamed butter, the butter seizes up, and you lose all those tiny air bubbles we worked so hard to create during the creaming process. For more on how flour choice impacts the structure, King Arthur Baking has a great guide on all purpose vs. cake flour.
| Ingredient | Science Role | Pro Secret |
|---|---|---|
| Unsalted Butter | Structure & Flavor | Soften to 65°F for the best air incorporation |
| Condensed Milk | Viscosity & Sweetness | Use full sugar for the correct "goo" thickness |
| Coconut Milk | Flavor & Emulsion | Shake the can well to integrate the coconut cream |
| Baking Powder | Lift & Aeration | Sift with flour to avoid "bitter" clumps |
Gathering Your Essentials
Let's get your mise en place sorted. I've listed everything you need below. Please stick to the weights if you have a scale, as it's the only way to ensure your cake doesn't end up too dense or too crumbly.
For the Cake Base
- 190g All purpose flourWhy this? Provides the necessary structure to hold the soak
- 200g Granulated sugarWhy this? Standard sweetness and helps with browning
- 115g Unsalted butter, softenedWhy this? Creates a rich, velvety crumb
- 2 large Eggs (room temperature)Why this? Emulsifies the fat and adds lift
- 120ml Full fat canned coconut milkWhy this? Adds tropical flavor and moisture
- 7g Baking powderWhy this? Ensures the cake rises evenly
- 3g SaltWhy this? Balances the heavy sweetness of the coconut
- 5ml Vanilla extractWhy this? Rounds out the coconut flavor
For the Gooey Soak
- 397g Sweetened condensed milkWhy this? The primary "goo" agent
- 120ml Full fat canned coconut milkWhy this? Maintains the flavor profile
- 57g Unsalted butter, meltedWhy this? Adds richness and shine
- 5ml Coconut extract (optional)Why this? Intensifies the coconut punch
For the Toasted Topping - 200g Shredded sweetened coconut Why this? Adds a shatter crisp finish - 28g Melted butter Why this? Helps coconut toast evenly
| Original Ingredient | Substitute | Why It Works |
|---|---|---|
| All purpose flour | Cake Flour | Finer crumb. Note: Makes the cake softer but less stable |
| Condensed Milk | Evaporated Milk + Sugar | Similar viscosity. Note: Less creamy than condensed |
| Coconut Milk | Heavy Cream | Same fat content. Note: Loses the tropical flavor |
| Sweetened Coconut | Unsweetened + 1 tbsp Sugar | Reduces sugar. Note: Less "candy like" crunch |
I once tried using a coconut flavored yogurt as a substitute for the coconut milk in the batter. It sounded healthy and interesting, but it made the cake way too acidic, and the texture became rubbery. Stick to the canned full fat coconut milk for that authentic, rich taste. If you're in the mood for other nut based treats, you might love my Homemade peanut butter cake, which uses a similar rich base.
The Right Kitchen Tools
You don't need a professional bakery, but a few things make this much easier. A 9x9 inch square baking pan is the gold standard for this recipe. If you use a larger pan, the cake will be thinner, and the soak will penetrate too quickly, potentially making it mushy.
A hand mixer or a stand mixer such as a KitchenAid is essential for the creaming step. You cannot do this with a whisk if you want that specific "ooey gooey" texture. You also need a fine mesh sifter for the dry ingredients to prevent clumps of baking powder from creating holes in your cake.
Finally,, have a fork or a skewer ready. The moment that cake comes out of the oven, the clock starts. You need to poke those holes while the cake is still steaming to ensure the soak travels all the way to the bottom.
Step by step Baking Guide
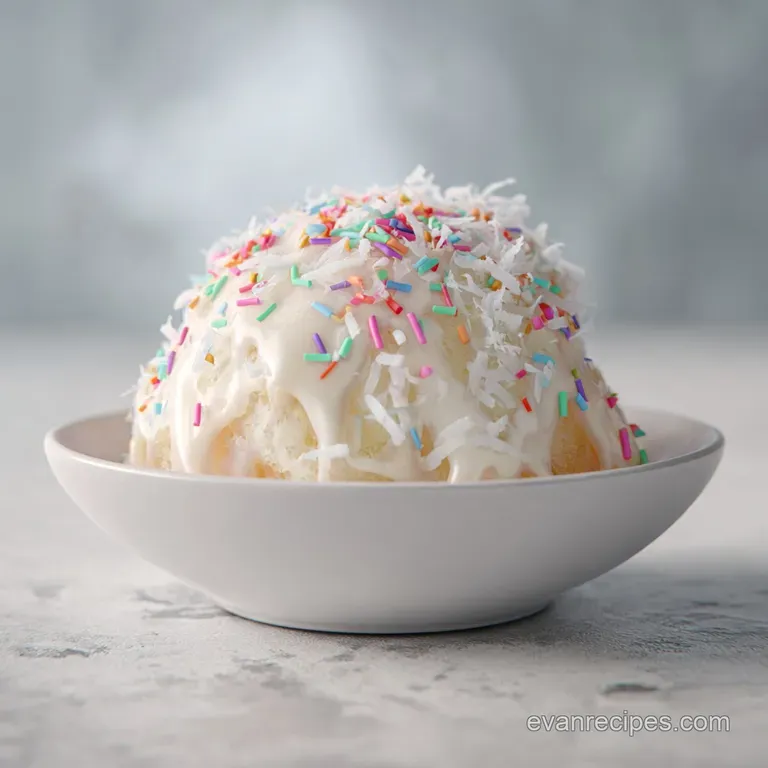
Right then, let's get baking. Remember, the key to The Ultimate Ooey Gooey Coconut Cake Recipe is not over mixing the batter once the flour goes in. Over mixing develops gluten, which would make this cake tough instead of tender.
1. Building the Foundation
Preheat your oven to 350°F (175°C). Grease your 9x9 pan thoroughly with butter or a non stick spray. I prefer butter because it adds a tiny bit of extra flavor to the edges of the cake.
2. Creaming the Base
In a large bowl, cream the softened butter and granulated sugar together. Use your mixer on medium high for about 3-5 minutes until the mixture is pale and fluffy. You're looking for a light, airy texture here.
3. Incorporating the Liquids
Beat in the eggs one at a time, making sure each is fully incorporated before adding the next. Stir in the vanilla extract. This ensures the emulsion stays stable and the cake doesn't separate in the oven.
4. Folding the Dry Ingredients
Sift in the flour, baking powder, and salt. Now, alternate adding the sifted flour with the coconut milk, starting and ending with the flour. Stir until just combined. Stop the moment you see no more streaks of flour.
5. The First Bake
Pour the batter into your prepared pan and smooth the top with a spatula. Bake for 25-30 minutes until the edges are golden brown and a toothpick comes out clean.
6. Preparing the Soak
While the cake is in its final 5 minutes of baking, grab a small saucepan. Combine the condensed milk, coconut milk, and melted butter. Heat over low heat, stirring constantly until the mixture is smooth and steaming, but not boiling.
7. The Saturation Process
Remove the cake from the oven. Immediately poke holes across the entire surface with a fork or skewer. Don't be shy, but don't shred the cake either. Just a grid of holes about an inch apart.
8. Applying the Glaze
Slowly pour the warm coconut soak over the hot cake. Let it seep into every hole. It will look like a lot of liquid at first, but the cake will drink it up as it cools.
9. The Final Topping
Toss your shredded coconut with melted butter and toast it in a pan over medium heat for 2-3 minutes until fragrant and golden. Sprinkle the toasted coconut generously over the top of the cake.
Chef's Note: Let the cake rest for at least 2 hours before slicing. This is the "patience phase" where the liquids settle into a custard like state. If you cut it too early, the soak will run out like a syrup.
Fixing Common Texture Issues
Even with a tested recipe, things can go sideways. Usually, it's a matter of temperature or timing. If your cake feels more like a sponge than a pudding, you likely missed the window for the soak.
The Cake is Too Dry
If the cake didn't absorb the liquid, it's usually because the cake had cooled too much before the soak was added. The pores of the cake close as it cools, blocking the liquid.
The Soak is Sitting on Top
This happens when the soak is too cold or the holes weren't deep enough. The liquid just pools on the surface instead of traveling through the crumb.
The Topping Burnt Quickly
Shredded coconut has a high sugar content, meaning it goes from golden to burnt in seconds. Keep it moving in the pan and remove it the moment it smells nutty.
| Problem | Root Cause | Solution |
|---|---|---|
| Cake is mushy | Over poking or too much soak | Use a consistent grid; don't over saturate |
| Liquid separated | Cold ingredients in soak | Heat the soak until fully integrated |
| Cake didn't rise | Expired baking powder | Check date or use fresh powder |
Common Mistakes Checklist
- ✓ Did you cream the butter and sugar for at least 3 minutes?
- ✓ Are the eggs at room temperature?
- ✓ Did you poke the holes while the cake was still hot?
- ✓ Did you avoid over mixing the flour into the batter?
- ✓ Did you allow the cake to rest for 4 hours before serving?
Adjusting the Batch Size
If you're making this for a small gathering or a massive party, you can scale The Ultimate Ooey Gooey Coconut Cake Recipe, but you have to be careful with the physics of the bake.
Scaling Down (½ Batch) Use an 8x4 inch loaf pan or a small round pan. Reduce the baking time by about 20%, starting to check for doneness at 20 minutes. For the eggs, crack one egg into a bowl, whisk it, and then use half of that mixture.
Scaling Up (2x Batch) I recommend baking two separate 9x9 pans rather than one giant deep pan. If you use a deeper pan, the middle will remain raw while the edges burn.
If you must use one large pan, lower the oven temperature by 25°F and extend the bake time by 10-15 minutes.
The Spice Rule When doubling a recipe, don't double the salt or coconut extract fully. Use about 1.5x the amount. These flavors intensify when scaled, and you don't want the salt to overpower the sweetness.
Choosing Your Method
| Goal | Action | Result |
|---|---|---|
| Extra Gooey | Increase soak by 10% | More custard like center |
| Lighter Texture | Use cake flour | Softer, more delicate crumb |
| Nuttier Flavor | Toast coconut longer | Deeply caramelized top |
Debunking Coconut Cake Myths
There's a lot of misinformation about coconut cakes, especially the "gooey" versions. Let's clear a few things up so you don't waste ingredients.
Myth: You must use a cake mix for "gooey" cakes. Some recipes suggest using a box mix for convenience, but a from scratch butter cake is far superior. The structure of a homemade cake allows it to absorb the soak without collapsing, whereas cake mixes often contain stabilizers that repel liquid.
Myth: The cake should be underbaked to be gooey. This is the most dangerous myth. An underbaked cake is just raw batter. The "gooeyness" comes entirely from the soak. Your cake should be fully baked and pass the toothpick test before any liquid touches it.
Myth: Room temperature ingredients don't matter. In some recipes, they don't. In this one, they do. If your butter is too cold, it won't trap air. If your eggs are cold, they'll break the emulsion. For a deeper look at how fats behave in baking, Serious Eats provides excellent breakdowns on emulsion stability.
Storage and Waste Tips
Because this cake has a high moisture content from the condensed milk and coconut milk, it behaves differently than a standard cake. You cannot leave this on the counter for days.
Storage Guidelines Store the cake in an airtight container in the fridge for up to 5 days. I actually think this cake tastes better on day two, as the flavors have more time to meld.
To serve, you can eat it cold for a fudge like texture or pop a slice in the microwave for 15 seconds to bring back that "ooey gooey" feel.
Freezing Instructions You can freeze this cake for up to 3 months. Wrap individual slices in parchment paper and then foil. Thaw in the fridge overnight before consuming. Note that the toasted coconut may lose some of its "shatter" after freezing, but the interior remains velvety.
Zero Waste Tips If you have leftover coconut milk in the can, don't toss it. Use it in a savory curry or freeze it in ice cube trays for smoothies. If you have extra toasted coconut, sprinkle it over oatmeal or yogurt. If you're craving another coconut adjacent treat, these Smores Cookies offer a similar balance of crunch and goo.
Best Pairings for Coconut
This cake is incredibly rich, so you want to pair it with things that cut through the sweetness. I find that bright, acidic flavors work best.
Fruit Pairings A side of fresh raspberries or a tart mango coulis works wonders. The acidity of the berries balances the heavy fats of the condensed milk. A simple squeeze of lime juice over the top of a slice can also wake up the whole flavor profile.
Beverage Matches A strong, unsweetened black coffee or an espresso is the perfect companion. The bitterness of the coffee contrasts with the creamy coconut. If you're serving this at a party, a cold glass of sparkling water with a twist of lime keeps the palate fresh.
Textural Add ons While the toasted coconut provides a great crunch, some people love adding a dollop of unsweetened whipped cream on the side. This adds a light, airy contrast to the dense, saturated cake.
For a more savory sweet vibe, a tiny pinch of flaky sea salt on top of the coconut topping is a pro move.
Recipe FAQs
Can I use light coconut milk instead of full fat?
No, stick with full fat canned coconut milk. Light versions lack the necessary fat content to achieve the signature ooey gooey texture.
How to prevent the cake from becoming tough?
Stir the batter only until just combined once the flour is added. Overmixing develops gluten, which ruins the tender crumb.
Can this cake be left on the counter for a few days?
No, store it in an airtight container in the fridge. The high moisture from the condensed milk and coconut milk makes it perishable at room temperature.
Is it true I should let the cake cool before poking holes and adding the glaze?
No, this is a common misconception. Pour the warm coconut mixture over the hot cake immediately so the liquid seeps into every hole.
Why did my cake turn out dry?
Avoid baking beyond 30 minutes. Overbaking at 350°F evaporates too much moisture, preventing the center from staying gooey.
How to bring back the "ooey gooey" texture after refrigerating?
Pop a slice in the microwave for 15 seconds. This quickly restores the melted consistency of the butter and condensed milk.
What is the best accompaniment for this dessert?
Serve it with a scoop of cold ice cream. If you enjoyed mastering the rich texture here, see how the same creamy principle works in our homemade ice cream.
Ooey Gooey Coconut Cake