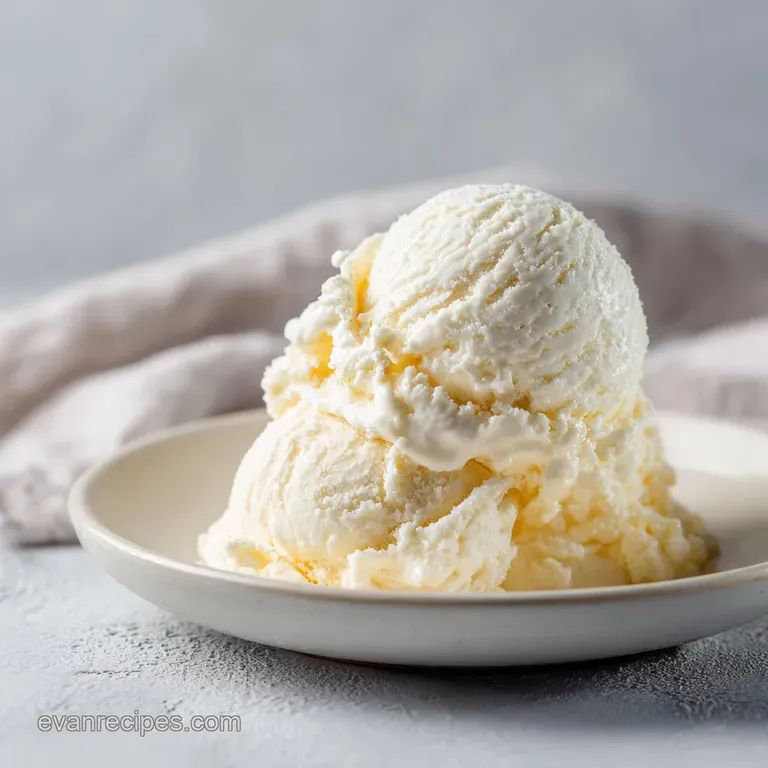
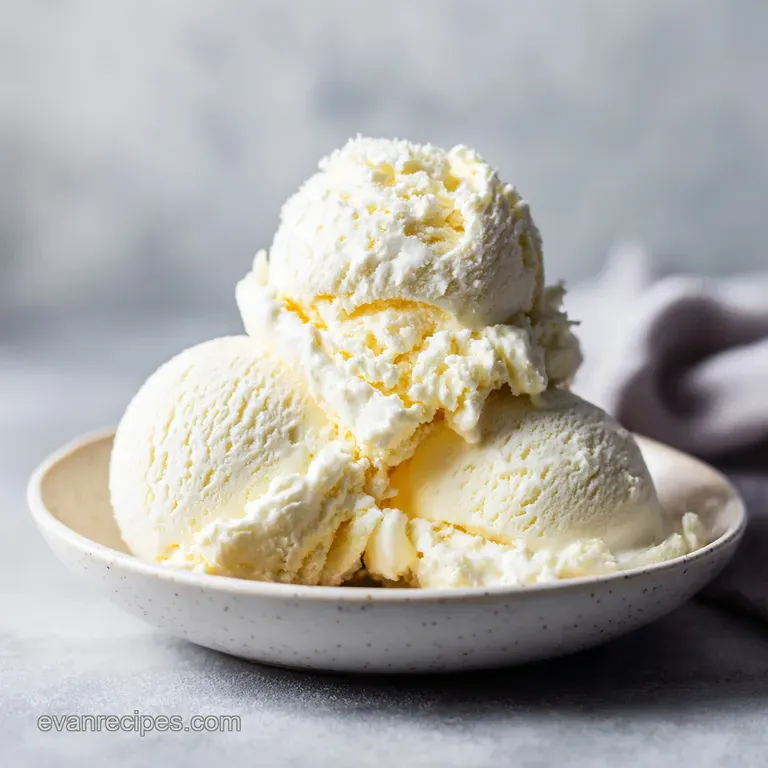
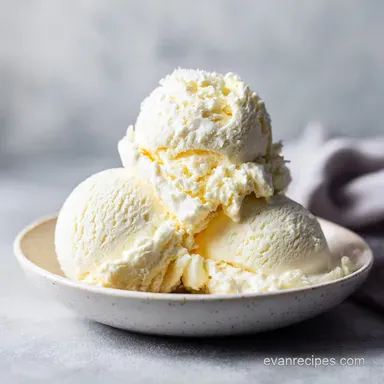
Old Fashioned Homemade Vanilla Ice Cream
- Time: Active 20 minutes, Passive 15 minutes, Total 35 minutes (plus 4 hours chilling)
- Flavor/Texture Hook: Ultra creamy, velvety, and rich with a deep vanilla finish
- Perfect for: Impressive dinner parties, holiday desserts, or a masterclass in foundational pastry skills
- The Mechanics of Creamy Perfection
- Exploring the Component Analysis
- Necessary Tools for Success
- Executing the Perfectionist Method
- Solving Texture and Consistency Issues
- Adjusting the Yield for Groups
- Debunking Common Frozen Dessert Myths
- Guidelines for Storage and Waste
- Final Touches for Serving
- Recipe FAQs
- 📝 Recipe Card
The Mechanics of Creamy Perfection
Understanding the "how" behind the churn is what turns a recipe into a skill. When we heat the dairy and eggs, we aren't just mixing them; we are creating a stable emulsion that will eventually trap microscopic air bubbles.
- Fat Saturation: Using heavy cream with at least 36% fat ensures the ice cream has enough structure to feel velvety rather than watery.
- Protein Bridging: Lecithin in egg yolks acts as a natural bridge between water and fat, preventing the two from separating during the freezing process.
- Ice Crystal Control: Sugar isn't just for sweetness; it physically gets in the way of water molecules trying to bond, keeping the crystals small enough that they feel smooth on your tongue.
- Fat Maturation: Chilling the base for several hours allows the fat droplets to partially crystallize, which helps them trap air more effectively during churning.
| Method Type | Prep Time | Final Texture | Best For |
|---|---|---|---|
| French Custard | 35 mins | Dense, velvety, ultra smooth | The gold standard for flavor and luxury |
| Philadelphia Style | 10 mins | Lighter, cleaner dairy flavor | Highlighting fresh fruit or delicate herbs |
| No Churn (Whipped) | 15 mins | Airy, mousse like, can be greasy | Quick fixes without specialized equipment |
Giving the custard base time to rest in the fridge is a step many people skip, but it is actually the secret to that professional "scoopability" you see in high end shops. During this resting phase, the proteins from the milk and eggs hydrate fully, which leads to a much more stable foam once you start the machine.
This is why we insist on a minimum 4 hours chill time though overnight is even better if you can wait.
Exploring the Component Analysis
Every ingredient in this homemade ice cream recipe has a specific functional role to play in the final architecture of the scoop. We aren't just throwing things in a pot; we are balancing solids, fats, and sugars to achieve a specific freezing point.
| Ingredient | Science Role | Pro Secret |
|---|---|---|
| Heavy Cream | Primary fat source for mouthfeel | Ensure it is at least 36% fat for the best "shatter" on the tongue |
| Egg Yolks | Emulsifier and thickener | Whisk until they turn a pale, creamy yellow before tempering |
| Granulated Sugar | Lowers freezing point | Don't reduce the amount, or the ice cream will turn into a solid block of ice |
| Fine Sea Salt | Flavor enhancer | A tiny pinch balances the richness and makes the vanilla notes "pop" |
When selecting your dairy, I always recommend looking for "pasteurized" rather than "ultra pasteurized" if possible. Ultra pasteurized cream is heated to such a high temperature that it can sometimes take on a slightly cooked or "canned" flavor, whereas standard pasteurization preserves more of those fresh, grassy notes from the milk.
Necessary Tools for Success
You don't need a professional laboratory, but a few specific items will make the process much smoother and prevent common mistakes like scorching the milk.
- Heavy Bottomed Saucepan: This is vital for even heat distribution; thin pans have "hot spots" that will scramble your eggs in seconds.
- Instant Read Thermometer: Precision is key in baking and custard making. We are aiming for exactly 180°F (82°C) for the perfect thickness.
- Fine Mesh Sieve: Even the best cooks sometimes get a tiny bit of overcooked egg. Straining ensures a perfectly silky result.
- Ice Cream Maker: Whether it's a compressor model or a freeze bowl style, the churning action is what incorporates the air (overrun) needed for softness.
- Silicone Spatula: This allows you to scrape every bit of the bottom of the pan, ensuring no custard sticks and burns.
If you are looking to expand your dessert repertoire beyond frozen treats, you might find that the tempering skills learned here apply perfectly to other rich bakes. For instance, the way we handle the dairy and fats is very similar to the technique used in a Peanut Butter Balls recipe to ensure a smooth, melt in-the mouth center.
Executing the Perfectionist Method
Follow these steps with precision. The temperatures listed are not suggestions; they are the exact points where the proteins behave the way we need them to for a flawless homemade ice cream recipe.
- Simmer the dairy. Combine 2 cups heavy whipping cream, 1 cup whole milk, 0.75 cup granulated white sugar, and a pinch of fine sea salt in your saucepan. Heat over medium until it reaches a gentle simmer, approximately 175°F. Note: Do not let it reach a rolling boil, or you risk breaking the milk proteins.
- Prep the yolks. Place 5 large egg yolks in a medium bowl and whisk lightly until they are broken and smooth.
- Tempering the eggs. Slowly drizzle exactly one cup of the hot cream mixture into the yolks while whisking constantly. Note: This raises the egg temperature gradually so they don't curdle.
- Combine the base. Pour the warmed yolk mixture back into the saucepan with the remaining hot cream.
- Thicken the custard. Cook over medium low heat, stirring constantly with your spatula. Cook until the mixture coats the back of a spoon, which should happen at exactly 180°F.
- Strain for silkiness. Immediately pour the custard through a fine mesh sieve into a clean glass bowl. Note: This stops the cooking and catches any stray solids.
- Add the aromatics. Stir in 1 tablespoon of high-quality vanilla extract.
- The long chill. Cover the surface of the custard directly with plastic wrap (to prevent a skin) and refrigerate for at least 4 hours. Wait until the base is completely cold before moving to the next step.
- The churn. Process the chilled base in your ice cream maker according to the manufacturer's instructions, usually about 15 to 20 minutes.
- Final freeze. Transfer the soft serve consistency ice cream to a chilled container and freeze for another 2 hours for a firm scoop.
Solving Texture and Consistency Issues
Even experienced cooks run into trouble with custards. The most common issues usually stem from heat management or moisture control during the freezing process.
Fixing Grainy or Icy Texture
If your ice cream feels like it has tiny sand particles in it, you likely have large ice crystals. This happens if the base wasn't cold enough before churning or if the machine took too long to freeze. Ensure your freezer bowl is frozen for at least 24 hours before you even start the recipe.
Preventing the Scrambled Egg Taste
If the custard smells "eggy," it means the yolks were cooked too high or too fast. Always use a thermometer and never skip the straining step. If it's too far gone, you'll have to start over, as that sulfurous taste cannot be masked by vanilla.
| Problem | Root Cause | Solution |
|---|---|---|
| Ice Crystals | Base was too warm | Chill base to 40°F (4°C) before churning |
| Greasy Mouthfeel | Over churning | Stop machine when it looks like thick soft serve |
| Rock Hard Freeze | Not enough sugar | Check measurements; sugar prevents a solid freeze |
Common Mistakes Checklist:
- ✓ Never let the milk reach a full boil before adding eggs.
- ✓ Always whisk the yolks while pouring the hot milk to prevent "cooking" them.
- ✓ Don't skip the sieve; even invisible lumps ruin the velvety texture.
- ✓ Keep the freezer container at the back of the freezer where it's coldest.
- ✓ Use a container with a tight fitting lid to prevent "freezer burn" smells.
Adjusting the Yield for Groups
If you are hosting a large party, you might be tempted to just double everything. However, ice cream machines have a specific capacity. If you overcrowd the bowl, the mixture won't freeze fast enough, resulting in a grainy texture.
When scaling down (half batch), use 3 egg yolks instead of 2.5 to ensure the emulsion stays strong. For scaling up, it is much better to work in batches. Churn one half, put it in the freezer, and then churn the second half.
For the spices and salt, use a 1.5x ratio instead of doubling them entirely, as flavors tend to concentrate when frozen.
If you find yourself with extra cream from a larger batch, you can use the surplus to make a Vanilla Sweet Cream recipe for your morning coffee. It uses many of the same principles of dairy stabilization and is a great way to ensure zero waste in the kitchen.
Debunking Common Frozen Dessert Myths
One of the biggest misconceptions is that "no churn" ice cream is exactly the same as churned. Without the physical action of the paddle, you cannot incorporate the tiny air bubbles (overrun) that give ice cream its signature lift.
No churn is essentially a frozen mousse it’s good, but it’s not the same product.
Another myth is that you can substitute low-fat milk for the heavy cream and get the same results. Fat is what provides the "velvety" sensation. If you remove the fat, the water content increases, and you end up with a texture closer to an ice pop or a very hard sherbet.
In this homemade ice cream recipe, the fat is a structural requirement, not just a flavor choice.
Guidelines for Storage and Waste
To keep your ice cream fresh, press a piece of wax paper or parchment directly onto the surface before putting the lid on. This prevents air from reaching the fat and creating that "stale" freezer taste.
- Fridge Life: The un churned custard base lasts 48 hours.
- Freezer Life: The finished ice cream is best within 2 weeks. After that, ice crystals start to migrate and grow.
- Zero Waste: Don't throw away the egg whites! Use them to make a Pavlova, meringues, or a healthy egg white omelet the next morning.
- Leftover Scraps: If you have a small amount of ice cream left that's gone a bit "icy," blend it into a milkshake. The mechanical action of the blender will break up the crystals and make it smooth again.
Final Touches for Serving
When it's time to serve, don't scoop directly from the freezer. Let the tub sit on the counter for about 5 minutes. This allows the temperature to rise just enough that the fats soften, giving you that "shatter" and melt that we worked so hard to achieve.
Pair a scoop with a warm fruit tart or simply serve it in a chilled glass bowl with a sprig of mint. The beauty of this master level vanilla is that it stands alone. You've mastered the chemistry and the technique; now all that's left is to enjoy the smoothest, most decadent result your kitchen has ever produced.
Trust me, once you go down the path of the traditional custard method, there is no going back to the tubs from the store. Happy churning!

Recipe FAQs
What are the ingredients of making ice cream at home?
Use two cups heavy whipping cream, one cup whole milk, three quarters cup granulated white sugar, five large egg yolks, one pinch of fine sea salt, and one tablespoon high-quality vanilla extract. This specific balance of dairy fats and stabilizers creates the foundation for a professional, velvety
custard base.
What is the simplest way to make ice cream?
Combine your dairy and sugar in a saucepan, temper your egg yolks, and cook until the mixture coats a spoon. After chilling for at least four hours, process the base in an ice cream maker according to the manufacturer's instructions for the best results.
Can diabetics have this ice cream recipe?
No, this recipe is formulated with granulated sugar, which is not suitable for a diabetic diet. The sugar plays a critical role in controlling ice crystal formation to maintain a smooth texture, so swapping it significantly alters the final product.
What are the five basic ingredients of ice cream?
The essential components are heavy cream, whole milk, sugar, egg yolks, and vanilla. These ingredients work together to provide the fat for creaminess, protein for structure, and sugar to inhibit large ice crystal growth.
Is it true that adding more sugar makes the ice cream creamier?
False. While sugar helps lower the freezing point to keep crystals small, adding too much will prevent the mixture from freezing properly and leave you with a soupy, syrupy mess instead of a scoopable dessert.
How to ensure the custard does not scramble?
Slowly drizzle one cup of the hot cream mixture into the egg yolks while whisking constantly. This tempering process gradually raises the temperature of the eggs, preventing them from coagulating into lumps when introduced to the rest of the hot dairy.
Why is the four hour chill time necessary?
Chilling allows the fat droplets in the cream to partially solidify, which improves the mixture's ability to trap air. If you enjoyed mastering the creamy results here, you will find that the same patience with temperature control creates superior textures in other dessert preparations.
Homemade Vanilla Ice Cream
Ingredients:
Instructions:
Nutrition Facts:
| Calories | 224 kcal |
|---|---|
| Protein | 3g |
| Fat | 17g |
| Carbs | 15g |
| Fiber | 0g |
| Sugar | 14g |
| Sodium | 33mg |
